In my very own humble opinion, every backpack in the world should be waterproof. If you’re using a backpack with the purpose of carrying items outdoors, from point A to point B, it is safe to assume that you are always exposed to the possibility of rain. In consequence, you should be able to transport your items without having to worry that once it starts raining, your books, clothes, laptop, electronics, documents or whatever will get soaking yet. But if you own a backpack that’s not waterproof, you don’t exactly have to throw it away. I’m going to show you how to waterproof a backpack, for the safety of your items and your peace of mind.
There are several methods which you can use to waterproof a backpack and I will explain how each of them works and why they are convenient.
Method 1: The backpack liner
For those of you not familiar with a backpack liner: it’s a large waterproof bag that comes with sealed seams and it can fit inside your backpack, for safely storage of your items. A very good backpack liner is the Sea to Summit Ultra-Sil Pack Liner. Available in both green and blue, this backpack liner comes with a unique top closure, which allows you to fold the extra fabric at the top. This way, you have a closed loop at the top of the liner, to make sure nothing goes in the bag itself. It comes with a slippery finish, so you can easily fit it inside your backpack.
The dimensions and weight of this liner are, as follows:
- SMALL 19″x 6″ (oval base), 21″ H, 2.6oz.
- MEDIUM 20″ x 8″ base, 35″ H, 3.4 oz.
- LARGE: 22″ x 10″, 48″ H, 4.4 oz
Method 2: The dry bag
Everyone interested in knowing how to waterproof a backpack should know about dry bags. Dry bags are pretty popular amongst people who like canoeing, kayaking and other sports that involve the possibility of water contact (swimming is excluded). Dry bag are tightly sealed at the top and come with fully taped seams to make sure everything inside them is protected from water. Should air get inside them, they make up for a good buoyancy aid.
A very affordable and good dry bag is the one made by Outdoor Products. This particular set is priced at $10 at the time of this review and features a pack of three lightweight dry sacks and it includes a 2, 4, and 8 Liter bag. The dimensions for each of the 2 bags are:
- 10.75 inches x 22 inches
- 9.5 inches x 15.5 inches
- 7.75 inches x 13 inches
Each one of these 3 dry bags comes with polyurethane coating with watertight, double-stitched, tape-sealed seams for superior water resistance. Even if they have a huge number of positive reviews, we are a bit skeptical about how waterproof these are when fully submerged in water. They are water resistant, but they don’t seem to be 100% waterproof, because they are not fully airtight. To check the latest offer on Amazon, click here.
If you are willing to spend some extra bucks, we do recommend the Odyssey Waterproof Roll Top Dry Bag. This is a waterproof bag tested and used by professional dive companies and sailing teams, meeting the highest waterproof standards. The Odyssey dry bags are made of 500D PVC tarpaulin, also known as the toughest waterproof material known to man. This dry bag is stain resistant, anti-static, UV protected, anti-bacterial, and temperature resistant. Most importantly, the bag has an incredibly high tear strength and it is pliable, so you can easily load up and close the bag without struggle.

Due to its included shoulder strap, this acts as a backpack in itself, but you can also place it in a larger backpack if you ever feel the need to do so. Purchasing this dry bag now will also give you benefit of a free smartphone dry pouch, which is also useful for storing valuables such as keys, money or credit cards. And yes, it floats.
Method 3: The ziplock bag
I’m pretty sure that everyone is familiar with what a ziplock bag is. It’s the one you use to seal items inside, creating a protected and airtight space that will prevent water from going in. Ziplock bags are ideal for storing small items inside your backpack, items like cell phones, money, cameras, food, snacks, small books and notebooks. All you have to do is make sure there are not holes in the ziplock bags you’re using and they are good to go. Even more, you can purchase a Ziploc Vacuum Sealer and seal regular bags when needed. Even if it’s generally used for food storage, who says you can’t seal your wallet in a bag? The disadvantage is that once you tear the bag open, you’ll have to use the sealer again to secure it.
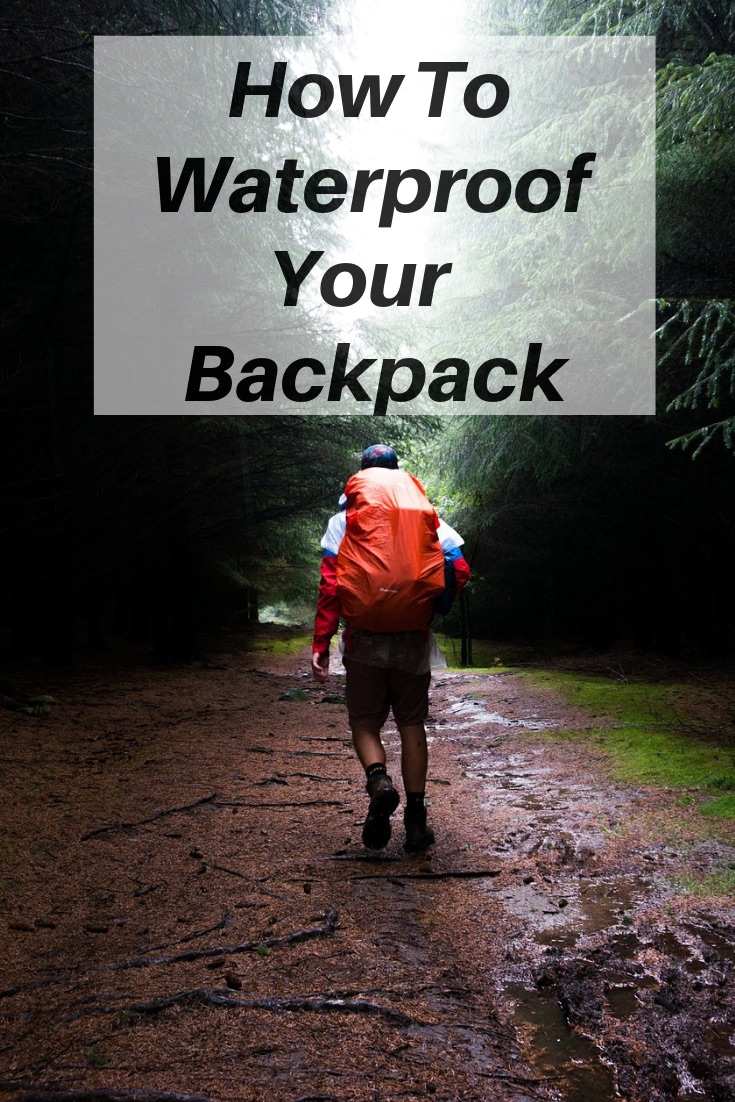
Method 4: Rain covers
As you’ve already figured out, we’re coming up with some ingenious ways to teach you how to waterproof your backpack without using the regular proofing spray method that everyone uses (but we’ll get to that in this article). Now, imagine a shower cap… for your backpack. Rain covers are elastical around the edge and they cover the entire exterior of your backpack, to make sure it’s completely covered and kept safe from humidity.

One of the best rain covers that money can buy is the Mountainsmith Backpack Rain Cover. We recommend it because Mountainsmith has been in the outdoor gear business for about 40 years now. The quality and comfort of all Mountainsmith products, such as technical backpacks, trekking poles, tents and sleeping bags, travel storage systems, luggage, pet products, camera bags, was able to set a standard of excellence in the outdoor marketplace. In other words, they make gear for the heavy traveller.
This rain cover is made of 190t taffeta nylon body fabric and we all know by now that nylon is the preferred fabric of waterproof item manufacturers.
Here are the dimensions of every rain cover size.
Large cover:
- Dimensions: 19.5 by 31.5 by 11 inches (W x H x D)
- Weight: 4.32 ounces
- Fit range: 4,500 to 6,000 cubic inches
Medium cover:
- Dimensions: 19 by 28 by 10 inches (W x H x D)
- Weight: 4.16 ounces
- Fit range: 3,500 to 4,500 cubic inches
Small cover:
- Dimensions: 16 by 27 by 8.5 inches (W x H x D)
- Weight: 4 ounces
- Fit range: 2,500 to 3,500 cubic inches
X-small cover:
- Dimensions: 14 by 20 by 7.5 inches (W x H x D)
- Weight: 3.84 ounces
- Fit range: 1,500 to 2,500 cubic inches
Method 5: The waterproof container
In our quest to discover how to waterproof a backpack, we’ve come across a great invention: the waterproof container. Waterproof containers are available in a variety of sizes, from larger containers to hold all your kit to smaller ones to fit inside your backpack. We’re just going to mention the Plano 3440-10 Waterproof Stowaway. It’s a small waterproof container for valuable such as phones, money or wallets. It comes with 3 tight sealing cam action latches and measures 7.4 x 1.8 x 4.5 inches.
Method 6: The waterproof spray
When everyone thinks about how to waterproof a backpack, the first thing that comes to mind is purchasing a waterproof spray. Just as you would waterproof a pair of boots or your tent, you can also use a proofing spray for your backpack. The Sara Lee Household and Beverage Kiwi Camp Dry Heavy Duty Water Repellent, despite its long name, is our recommendation. It contains a silicone content which bonds to materials to create an extremely tough water barrier, ensuring the greatest water protection. Even if proofing sprays are used on a wide range of products: from boots to tents, there is something I have to mention: waterproofing a backpack with a spray is not really recommended, because it does not guarantee that water won’t get in the rucksack.
Although a waterproofing spray will improve the fabric water resistance, it’s important to remember that no spray will make your rucksack 100% waterproof, as water can still leak through the seams and zips.
If you liked this, please pin this to your Pinterest account!
How to Waterproof your BackPack